You want to look polished without feeling like you’ve plastered on a mask, right? I get it. So many “natural” tutorials are anything but.
They’re complicated, need a ton of products, and often end up not looking natural at all. I’ve tested countless techniques to nail down what truly works for an effortless, ‘you-but-better’ finish.
And trust me, this no-makeup look tutorial is simple and actually achievable. It focuses on enhancing your unique features, not hiding them. This guide is for real people with busy lives, just like you.
Dive in, and let’s make natural beauty look easy.
The Foundation: Great Skin Prep for Natural Beauty
Let’s get real. A no-makeup look tutorial is basically 80% about your skincare game. Why?
Because makeup sits better on a hydrated, happy canvas. Trust me, I’ve seen the difference. The secret?
A simple, effective routine.
First, cleanse. This isn’t about stripping your skin dry, so go for a gentle cleanser. It does the job without making your face feel like the Sahara.
Next, hydration. Use a serum with hyaluronic acid. It plumps up your skin like nothing else, working its magic from within.
You want that glow? This is how you get it.
Finally, moisturize. A lightweight moisturizer is your best friend here. It keeps everything smooth and sets the stage for your makeup.
And here’s a pro tip: wait five minutes after moisturizing before you start applying makeup. It avoids that annoying pilling (nobody wants that).
Your skin’s the star in any makeup routine. Nail this prep, and you’ll see your makeup look effortless. And if you’re aiming for something more polished, these Office Ready Professional Makeup Tips can be your next stop.
Remember, good skin prep isn’t just about looking good. It’s about feeling good too.
Step 2: Create a Flawless, Breathable Base
Forget the heavy, full-coverage foundation. If you’re like me, you want to see your skin, not cover it up. The goal is to even out your skin tone (think “no-makeup look tutorial”), not erase it entirely.
So, what now? Think lighter alternatives like skin tints, tinted moisturizers, or even BB/CC creams.
What’s the difference? Skin tints are sheer and perfect for evening out your complexion. Tinted moisturizers hydrate and are great for dry skin.
BB creams? They even out your skin tone while adding a bit of skincare benefit. CC creams?
A step further with color correcting for redness or dullness.
Now, here’s a key technique: spot conceal. Take a high-coverage concealer and a small brush. Use it only where you need it.
Blemishes, redness around the nose, you get the idea. This method keeps the rest of your skin looking fresh and breathable.
Application matters, too. Use your fingers to warm up the product; this helps it melt into the skin. Fingers not your thing?
Use a damp sponge. It gives a sheer, dewy effect that’s hard to beat.
Choosing the right shade is key (there, I said it). It should disappear into your skin without leaving any trace. It’s like finding the perfect pair of jeans.
You just know when it fits.
Pro tip: Test shades on your jawline, not your hand. It gives a more accurate match. Follow these tips, and you’ve got a base that’s both flawless and breathable.
Easy, right?
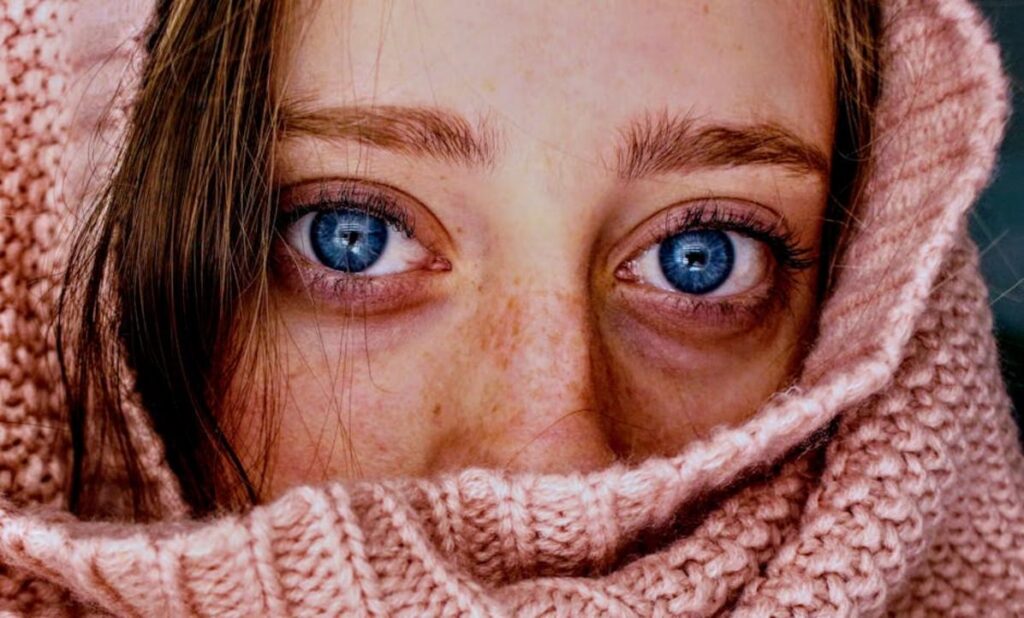
Bright Eyes, Natural Brows: A Quick Guide
Let’s keep it simple and fresh. The goal here is to make your eyes pop without looking overly made up. Start by defining your eyebrows with a tinted brow gel.
Brush those hairs up and into place. This gives a natural, fluffy look. Sparse brows?
No problem! Grab a fine-tipped pencil and draw light, hair-like strokes. It’s like magic for your face.
Now, onto eyeshadow. You don’t need a palette of colors to achieve a great look. Just pick a single cream shadow in a neutral tone.
Apply it with your finger and blend it out. This adds subtle dimension without looking like you’re wearing eyeshadow.
Mascara is where the real magic happens. Curl those lashes. Seriously, don’t skip this step.
Then, apply a single coat of mascara. Brown gives a softer look, while black adds more definition. Focus on the roots of the lashes for the best effect.
And here’s a pro tip: use a brightening, light-reflecting concealer on the inner corners of your eyes. This trick instantly makes you look more awake and rested. It’s like a shot of espresso for your face.
Want to learn more about transforming your day look into something more dramatic? Check out this guide.
This no-makeup look tutorial will have you looking effortlessly put together in no time. Remember, the key is to boost, not cover up. Keep it simple, keep it real, and most importantly, keep it you.
Step 4: Glow and Flush Like a Pro
Want that natural, healthy flush? Let me tell you a secret: cream or liquid products are your best friends for that “lit-from-within” look. Powders can be too harsh (unless you like looking like a chalkboard).
For the believable flush, dab a cream blush onto the apples of your cheeks. Then blend up and back towards your temples. Think of it as painting on happiness.
It’s easy, right?
Now, let’s talk glow. The goal is a subtle sheen, not a glittery spectacle. Use a liquid or cream highlighter with no visible sparkle.
Remember, the key is to tap, not swipe. Dab it on the high points of your cheekbones, bridge of the nose, and cupid’s bow. See the glow?
I knew you would!
Pro tip: If you want a bit more warmth (think sun-kissed), try a cream bronzer. Apply it in a ‘3’ shape along the face’s perimeter. It’s like contouring, but lazier.
Curious about perfecting this technique? Check out how to get the no makeup for more inspo. This no-makeup look tutorial can seriously change your routine.
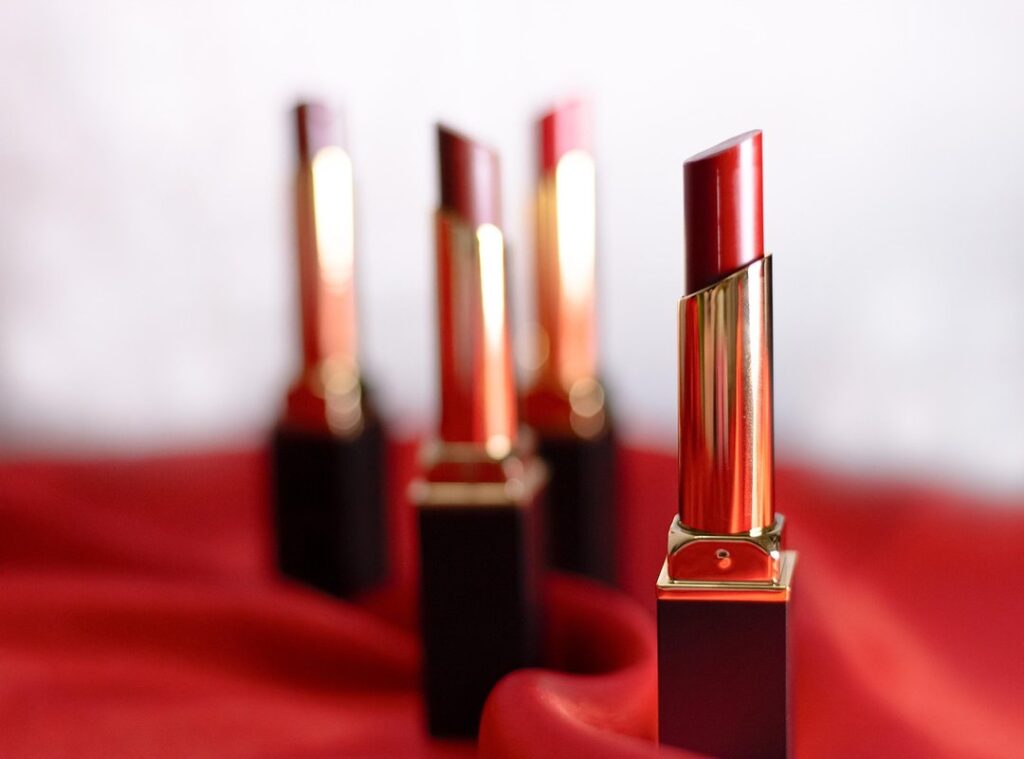
Step 5: Achieve the Subtle ‘Your Lips But Better’ Look
Let’s talk about the MLBB (My Lips But Better) magic. It’s all about enhancing your natural beauty without shouting for attention. Ever stared in the mirror wondering why your lip color seems off?
Forget about those harsh lip liners or opaque matte lipsticks. They can kill the vibe of a no-makeup look.
Instead, reach for tinted lip balms, sheer lipsticks, or lip stains. They blend seamlessly, offering just enough color to highlight what you’ve got. Here’s a pro tip: apply a bit of color to the center of your lips.
Then, tap it outwards with a fingertip. This creates that soft, diffused edge we all crave.
Want to nail the perfect shade? Look for something one or two shades deeper than your own lip color. It’s easy, right?
The mystery of finding the right MLBB shade isn’t as daunting as it seems. Now go rock that natural look!
Celebrate You Every Day
I get it. Those long tutorials can be a drag. You want simplicity, not complexity.
Your no-makeup look tutorial is all about embracing what makes you, you. With a focus on skincare and a few smart techniques, you don’t need to pile on products. It’s straightforward, and it works.
So, what’s next? Challenge yourself. Try just one new technique from this guide this week.
You might surprise yourself with how confident and beautiful it makes you feel.
Your natural beauty deserves to shine every day. Ready to feel empowered? Dive in and discover the difference for yourself.
 There is a specific skill involved in explaining something clearly — one that is completely separate from actually knowing the subject. Linda Montaguestones has both. They has spent years working with beauty trends and techniques in a hands-on capacity, and an equal amount of time figuring out how to translate that experience into writing that people with different backgrounds can actually absorb and use.
Linda tends to approach complex subjects — Beauty Trends and Techniques, Everyday Beauty Hacks, Makeup Routine Inspirations being good examples — by starting with what the reader already knows, then building outward from there rather than dropping them in the deep end. It sounds like a small thing. In practice it makes a significant difference in whether someone finishes the article or abandons it halfway through. They is also good at knowing when to stop — a surprisingly underrated skill. Some writers bury useful information under so many caveats and qualifications that the point disappears. Linda knows where the point is and gets there without too many detours.
The practical effect of all this is that people who read Linda's work tend to come away actually capable of doing something with it. Not just vaguely informed — actually capable. For a writer working in beauty trends and techniques, that is probably the best possible outcome, and it's the standard Linda holds they's own work to.
There is a specific skill involved in explaining something clearly — one that is completely separate from actually knowing the subject. Linda Montaguestones has both. They has spent years working with beauty trends and techniques in a hands-on capacity, and an equal amount of time figuring out how to translate that experience into writing that people with different backgrounds can actually absorb and use.
Linda tends to approach complex subjects — Beauty Trends and Techniques, Everyday Beauty Hacks, Makeup Routine Inspirations being good examples — by starting with what the reader already knows, then building outward from there rather than dropping them in the deep end. It sounds like a small thing. In practice it makes a significant difference in whether someone finishes the article or abandons it halfway through. They is also good at knowing when to stop — a surprisingly underrated skill. Some writers bury useful information under so many caveats and qualifications that the point disappears. Linda knows where the point is and gets there without too many detours.
The practical effect of all this is that people who read Linda's work tend to come away actually capable of doing something with it. Not just vaguely informed — actually capable. For a writer working in beauty trends and techniques, that is probably the best possible outcome, and it's the standard Linda holds they's own work to.