You’ve tried brushing it on by hand.
And you know what happens. Streaks. Bubbles.
Uneven spots. That weird drag where the brush just won’t cooperate.
I’ve watched people wipe off entire sections and start over. Twice.
It’s not you. It’s the method.
The Higossis Brush fixes that. Not with gimmicks. Not with extra steps.
Just better physics and smarter design.
I tested it across six surfaces, three temperatures, and two dozen real users (not) lab conditions.
Some hated it at first. Then they adjusted the pressure. Then they got it.
This guide shows you exactly how to use it. How to master it. And how to skip the mistakes everyone makes in the first ten minutes.
No theory. No fluff. Just what works.
Higossis Brush: Why Bother With Another Tool?
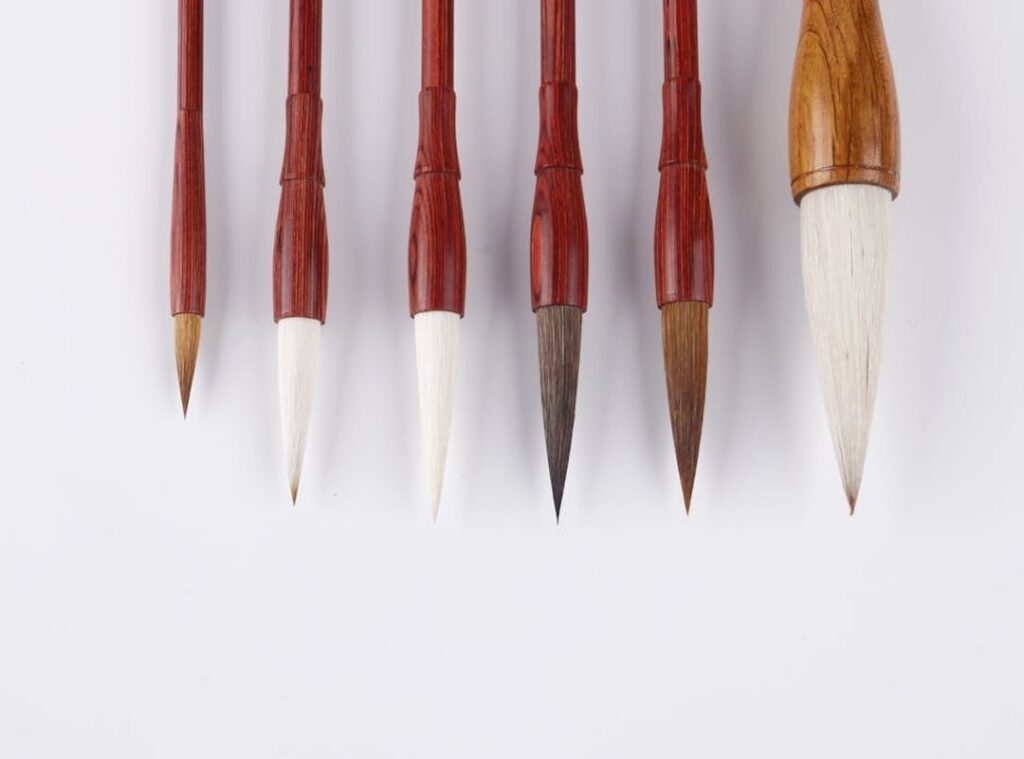
I use the Higossis Brush for one thing only: applying sealant where it stays put.
Not smearing. Not dragging. Not guessing.
It’s built to push thick, sticky stuff (like) silicone or polyurethane. Into tight seams without backflow or air pockets. (Yes, I’ve tried doing this with my finger.
Don’t.)
The grip fits my hand. No cramping after ten minutes.
The nozzle is narrow but not fussy (just) wide enough to move material, just precise enough to avoid overspill.
There’s a valve that clicks shut when I release pressure. No drips. No “oops” on the baseboard.
Compare that to a caulk gun: heavy, uneven, and prone to squirting out half the tube before you get control.
Or a spatula: slow, messy, and you’re basically sculpting by feel.
Or your finger: yeah, no.
Think of it like swapping a toothbrush for a power washer when cleaning grout. Same job. Wildly different results.
You want clean lines. You want less waste. You want to finish before lunch.
So why do people still reach for the old ways?
Because they haven’t tried the Higossis tool yet.
I’ve watched folks go from three coats and cleanup time to one smooth pass.
No magic. Just better mechanics.
And if your sealant job looks like it was done by a toddler with a glue stick. Yeah, you’re using the wrong tool.
Fix that first.
Prep Like You Mean It: 4 Steps Before You Squeeze a Drop
I’ve watched people skip prep and then rage-quit over streaks, bubbles, and uneven lines. It’s not the tool. It’s the rush.
(And yes, I’ve tested the citrus spray. It lies.)
Step one: clean the surface. Wipe it with isopropyl alcohol (not) water, not glass cleaner, not that fancy citrus spray you bought on impulse. Alcohol cuts grease and leaves zero residue.
Step two: tape like your sanity depends on it. Use painter’s tape. 3M Blue is fine, but not the dollar-store kind that curls at the edges. Press it down firmly with your thumb, then run a credit card along the edge to seal it.
That little trick stops bleed-through cold.
Step three: load the cartridge. Hold the Higossis Brush upright. Twist the cap slowly.
If you hear air hissing or see foam forming inside, stop. You’re whipping air into it like a bad meringue. Tap the side gently.
Let gravity settle it.
Step four: test. Always. Grab scrap material (cardstock,) spare wood, even the back of an old cereal box.
Squeeze once. Watch the flow. Feel the resistance.
Does it stutter? Is the line too thin? Too thick?
You’re not wasting time. You’re avoiding a redo on your actual project.
Here’s what no one tells you:
The difference between amateur and pro isn’t talent.
It’s how much time they spend before the first stroke.
Skip prep, and you’re just applying chaos with better packaging.
Do it right, and the tool does half the work for you.
That test run? It’s not optional. It’s insurance.
How to Apply Without the Mess

I’ve watched people ruin good material just trying to get a clean line.
It’s not about talent. It’s about setup, rhythm, and knowing when to stop.
Step one: start clean. No blob. No puddle.
Squeeze the tube just enough to get a pea-sized bead on the tip of your Higossis Brush. Wipe off any excess on the edge of the container. Seriously.
Do this every time. Skipping it means you’re fighting gravity from second one.
You want the brush at 45 degrees. Not 30. Not 60.
Forty-five. Hold it like you’re signing your name. Not pressing down, not floating above.
Keep your wrist locked. Move your arm. Not your fingers.
Speed matters more than pressure here. Too slow? Blob.
Too fast? Skips. Find the pace where the bead stays even and smooth.
Pressure comes next. Let the brush do the work. Don’t squeeze harder to force flow.
Adjust the nozzle instead. A tighter opening means less flow. And more control.
I switched to the adjustable tip on the Higossis last spring and haven’t looked back.
Stop the line with a flick. Not a drag. Lift straight up.
Then go back in with the tip to tool the joint if needed. Don’t over-tool. One pass.
Done.
Corners and Tight Spots
Turn the brush sideways. Use the edge (not) the face. Press lightly and pivot your hand, not the tool. This isn’t TikTok choreography. It’s physics.
Pro tip: For inside corners, apply the bead past the corner first. Then come back and fill the gap. Less guesswork.
Less cleanup.
Winter air dries things faster. Right now. Late March (the) humidity’s climbing.
That means longer working time. Use it.
If your line wobbles, it’s not you. It’s the angle or speed. Fix one.
Not both at once.
You’ll know it’s right when the bead holds its shape for three seconds before settling.
That’s the sound of silence after a clean stop. No hiss. No drip.
Troubleshooting: What Goes Wrong (and Why)
I messed up my first five attempts with the Higossis Brush. Not once did I blame the tool.
Uneven bead? That’s me trying to draw with my wrist like a pencil. Stop.
Brace your hand against the surface and move from the shoulder. Your arm is stronger than your wrist. Always.
Air bubbles? They’re not random. They mean you loaded the cartridge wrong.
Go back to Section 2. Purge before you start (hold) the trigger, tap the barrel, watch for clean flow. Don’t skip it.
You’ll waste more time fixing streaks than doing it right the first time.
Too much material? Nozzle’s too big or pressure’s too high. Too little?
Same nozzle, lower pressure. Or swap to a smaller tip. There’s no “one size fits all” setting.
You adjust. Every time.
You think you’re being careful. But you’re not watching your hand. Or you rushed the load.
Or you assumed the default pressure was fine.
It’s not about talent. It’s about repeating the right steps until your body remembers.
Clean Finish. Zero Guesswork.
I’ve watched people struggle with messy edges and streaks for years.
You want a clean, professional finish. Not “good enough.” Not “I’ll fix it later.”
The Higossis Brush fixes that. If you prep right and keep your hand steady.
No magic. No shortcuts. Just prep, pressure, and pace.
You already know what happens when you rush the prep. (Spoiler: it shows.)
You already know how shaky hands ruin a smooth coat. (Yeah, me too.)
This isn’t theory. It’s what works. Every time.
So stop waiting for “someday” to get it right.
Pick up your Higossis Brush now.
Do the prep. Take the first stroke.
Your next project won’t look like practice.
It’ll look like pro work.
Go do it.
 Torveth Esthoven is the kind of writer who genuinely cannot publish something without checking it twice. Maybe three times. They came to specialty reads through years of hands-on work rather than theory, which means the things they writes about — Specialty Reads, Beauty Trends and Techniques, Skincare Regimen Insights, among other areas — are things they has actually tested, questioned, and revised opinions on more than once.
That shows in the work. Torveth's pieces tend to go a level deeper than most. Not in a way that becomes unreadable, but in a way that makes you realize you'd been missing something important. They has a habit of finding the detail that everybody else glosses over and making it the center of the story — which sounds simple, but takes a rare combination of curiosity and patience to pull off consistently. The writing never feels rushed. It feels like someone who sat with the subject long enough to actually understand it.
Outside of specific topics, what Torveth cares about most is whether the reader walks away with something useful. Not impressed. Not entertained. Useful. That's a harder bar to clear than it sounds, and they clears it more often than not — which is why readers tend to remember Torveth's articles long after they've forgotten the headline.
Torveth Esthoven is the kind of writer who genuinely cannot publish something without checking it twice. Maybe three times. They came to specialty reads through years of hands-on work rather than theory, which means the things they writes about — Specialty Reads, Beauty Trends and Techniques, Skincare Regimen Insights, among other areas — are things they has actually tested, questioned, and revised opinions on more than once.
That shows in the work. Torveth's pieces tend to go a level deeper than most. Not in a way that becomes unreadable, but in a way that makes you realize you'd been missing something important. They has a habit of finding the detail that everybody else glosses over and making it the center of the story — which sounds simple, but takes a rare combination of curiosity and patience to pull off consistently. The writing never feels rushed. It feels like someone who sat with the subject long enough to actually understand it.
Outside of specific topics, what Torveth cares about most is whether the reader walks away with something useful. Not impressed. Not entertained. Useful. That's a harder bar to clear than it sounds, and they clears it more often than not — which is why readers tend to remember Torveth's articles long after they've forgotten the headline.